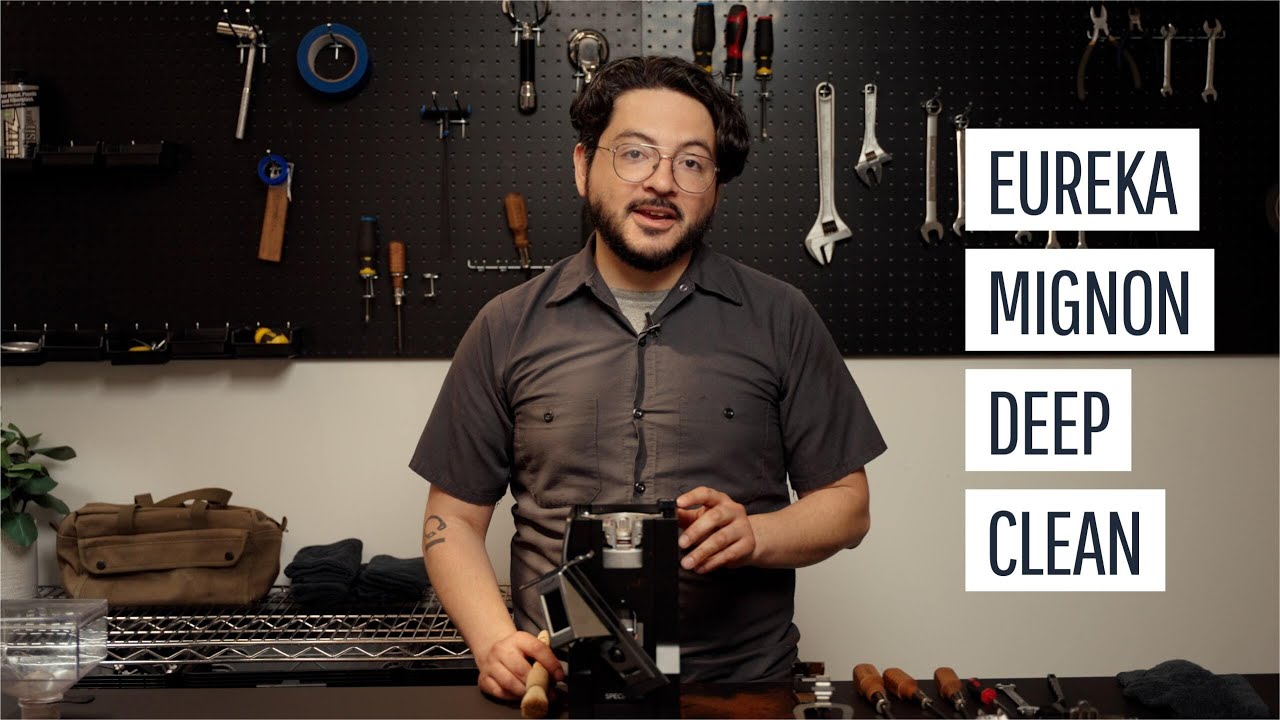
Maintaining your Eureka Mignon grinder in top shape requires more than just routine cleaning. Arthur, a technician at Clive Coffee, provides a comprehensive guide to deep cleaning your grinder. Whether you have the Specialità, Silenzio, Oro XL, or any other model built on the Eureka Mignon platform, these steps are universal. The process begins with a partially disassembled grinder, a state you can reach by following the routine cleaning video by Clive Coffee.
The first step involves removing the faceplate using a Phillips head screwdriver. Arthur then guides you through detaching the portafilter fork and carefully pulling the faceplate away from the grinder, ensuring not to strain the electrical leads. Next, he disassembles the chute, revealing the buildup even routine cleaning misses. Using a brush, he thoroughly cleans the chute and the ground chamber, emphasizing the importance of removing all cakey buildup to maintain grind quality. The following steps involve detailed cleaning of the grind chamber and under the burr carrier, ensuring every nook and cranny is free of debris.
Removing the Faceplate and Portafilter Fork
To start the deep cleaning process, the faceplate of the grinder needs to be removed. A number one Phillips head screwdriver is used to unscrew the small screws that secure the faceplate. After the screws are removed, the portafilter fork is pulled out by lifting it forward and away from the grinder. Then, carefully lift the faceplate to avoid straining the electrical leads, which can be delicate. This initial step is crucial to access the internal components for thorough cleaning.
Disassembling the Chute
Once the faceplate is off, the next step is to disassemble the chute. This part of the grinder often accumulates significant amounts of coffee grounds and sticky buildup, even with routine cleaning. Using a brush, Arthur meticulously cleans the chute to ensure it’s free from any residue. A clean chute is essential for maintaining the quality of the grind and ensuring the coffee tastes fresh and flavorful.
Cleaning the Ground Chamber
With the chute removed, the ground chamber is fully accessible. This area can harbor a lot of cakey buildup, which needs to be thoroughly cleaned to maintain grind quality. Arthur uses a pick and a brush to dig into every nook and cranny, removing all the accumulated debris. A vacuum cleaner is then used to suck out all the loosened particles, leaving the chamber spotless. This step might be time-consuming but is vital for keeping the grinder in top condition.
Removing and Cleaning the Bottom Burr
The next component to address is the bottom burr. Using a flat-bladed screwdriver and an 11-millimeter crescent wrench, the bottom burr is carefully removed. Once it’s out, the burr chamber is given a deep clean to eliminate any moisture-trapping buildup. This buildup can degrade the grind quality, so it’s essential to be meticulous. Arthur emphasizes the importance of being thorough in this step, as a clean burr chamber significantly contributes to the overall performance of the grinder.
Cleaning Under the Burr Carrier
The final component to clean is under the burr carrier. By turning the adjustment knob in the fine direction, the burr carrier is raised, providing enough space to clean underneath. Arthur uses a flexible, brush-like tool, similar to a pipe cleaner, to scrub the area thoroughly. This ensures that no hidden debris remains, which could affect the grinder’s performance. After this cleaning step, the grinder is ready to be reassembled.
Reassembling the Grinder
The reassembly process begins with reinstalling the bottom burr into the burr carrier. The screws are tightened just a bit more than hand tight, ensuring they are secure without being overly tight. The chute is then reattached, followed by the faceplate, making sure the electrical leads are properly tucked away. Finally, the top plate, portafilter fork, and hopper are put back into place. With everything back together, the grinder is restored to its pristine condition, ready to grind coffee efficiently. It is recommended to perform this deep cleaning every six months to a year to maintain optimal performance.
In conclusion, maintaining your Eureka Mignon grinder’s optimal performance involves more than just routine cleaning. Deep cleaning ensures each part of the grinder, from the faceplate to the bottom burr, is free of debris and buildup, enhancing the quality of your coffee grind.
By meticulously disassembling and cleaning each component, from the faceplate, chute, ground chamber, bottom burr, and under the burr carrier, you extend the lifespan of your grinder and ensure it operates efficiently.
Reassembling the grinder with care after thorough cleaning not only restores it to its pristine condition but also prepares it for another season of top-notch grinding. Regular deep cleaning, recommended every six months to a year, is essential for maintaining the performance and longevity of your Eureka Mignon grinder.