Roasting your own coffee at home isn’t as daunting as it seems. With some basic equipment and knowledge about coffee chemistry, you can enjoy freshly roasted coffee that’s worth the effort. Just imagine the thrill of transforming green coffee beans into aromatic, flavorful roasted beans in your kitchen.
Coffee roasting might seem like a superhuman ability, but it’s quite achievable. The process is relatively quick, and you don’t necessarily need specialized equipment. Green coffee beans, which are the unroasted version, start off as greenish-gray and transform through several stages when heat is applied.
The first stage is when the beans turn yellow as they dry out, followed by the browning stage where the real chemistry begins. The Maillard Reaction starts here, similar to what happens when you grill a steak or bake cookies. The beans then go through caramelization, developing aromatic and acidic compounds. At around 401°F, you’ll hear the first crack, which sounds like popcorn popping. The beans double in size and lose about 5% of their weight. This stage is often referred to as City Roast, which is a light roast.
As the roast continues, caramelization progresses, oils migrate out, and the beans expand further. You can tailor the roast to your preference by controlling the time and temperature. If you keep roasting, you’ll hear a second crack, and if you go past this point, you’ll end up with a dark roast. Be cautious, as going too far can result in an “Oh no!! Too Late! Roast,” where the beans turn into charcoal.
Next, you’ll need to buy unroasted beans, which are cheaper and allow you to customize the roast to your taste. You can find these beans at local roasteries or online. When storing green beans, keep them in a well-ventilated area to avoid humidity and odors that can ruin them. Roasted beans also have a shelf life, so store them in an airtight container away from sunlight, oxygen, and humidity.
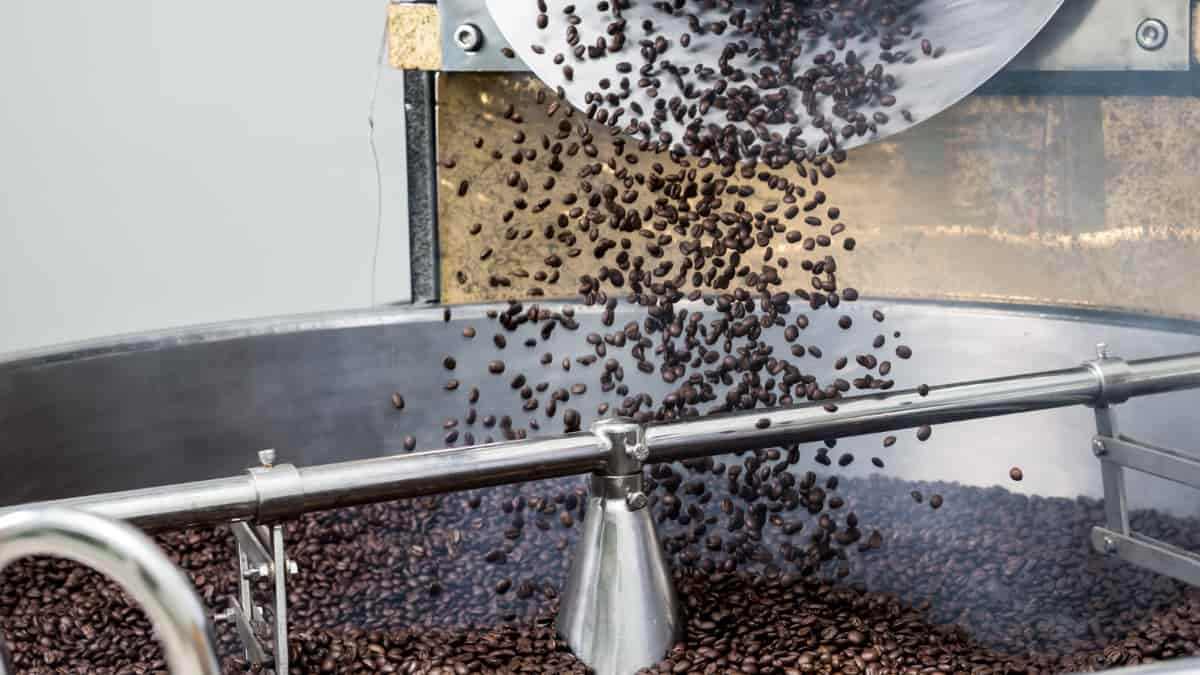
There are four main ways to roast coffee at home: using a pan, a popcorn popper, an oven, or a home coffee roaster. Each method has pros and cons. Pan roasting is straightforward but can result in uneven roasts. Popcorn poppers are affordable but can lack temperature control. Oven roasting is simple but offers inconsistent results. A home coffee roaster provides the best control and consistency, albeit at a higher cost.
After roasting, it’s crucial to cool the beans quickly to stop the roasting process. This can be done using a metal sieve or colander. Also, let the beans degas for a couple of days before brewing to ensure the best flavor. Freshly roasted beans lose their freshness within a few weeks, so only roast what you need for a short period.
Roasting your coffee beans allows you to experience the full flavor and freshness of coffee. It’s a fun and rewarding hobby that offers a deeper understanding of the coffee-making process. Once you start, you’ll find it hard to go back to pre-roasted coffee.
Roasting coffee at home transforms a daily routine into a fragrant, flavorful experience. With a bit of practice and patience, you can master this art and enjoy coffee tailored exactly to your taste. Ready to start roasting? The journey from green bean to perfect cup is just a roast away.